
How to Create and Use QR Codes with HighLevel:
A Step-by-Step Guide
🤖 GoHighLevel
Written By: Keaton Walker

Join over 15,000 Subscribers Enjoying My Newsletter:
The No B.S. Guide to Attracting Your Ideal Clients on Autopilot - No Matter Your Follower Count
The No B.S. Guide to Attracting Your Ideal Clients on Autopilot - No Matter Your Follower Count
Introduction
QR codes have become an essential tool for bridging the physical and digital worlds. HighLevel's latest QR code functionality makes it easier than ever for businesses to create dynamic, customizable QR codes that enhance customer engagement and streamline marketing efforts.
In this blog, we will guide you step-by-step on how to create a QR code linked to your website.
Start creating custom QR codes in minutes with HighLevel's powerful tools.
Step 1: Access the QR Code Tab
To begin, navigate to the QR code creation tab in HighLevel.
1. Go to "Sites" > "QR Codes" > Click "Create New" to access the QR code editing interface.
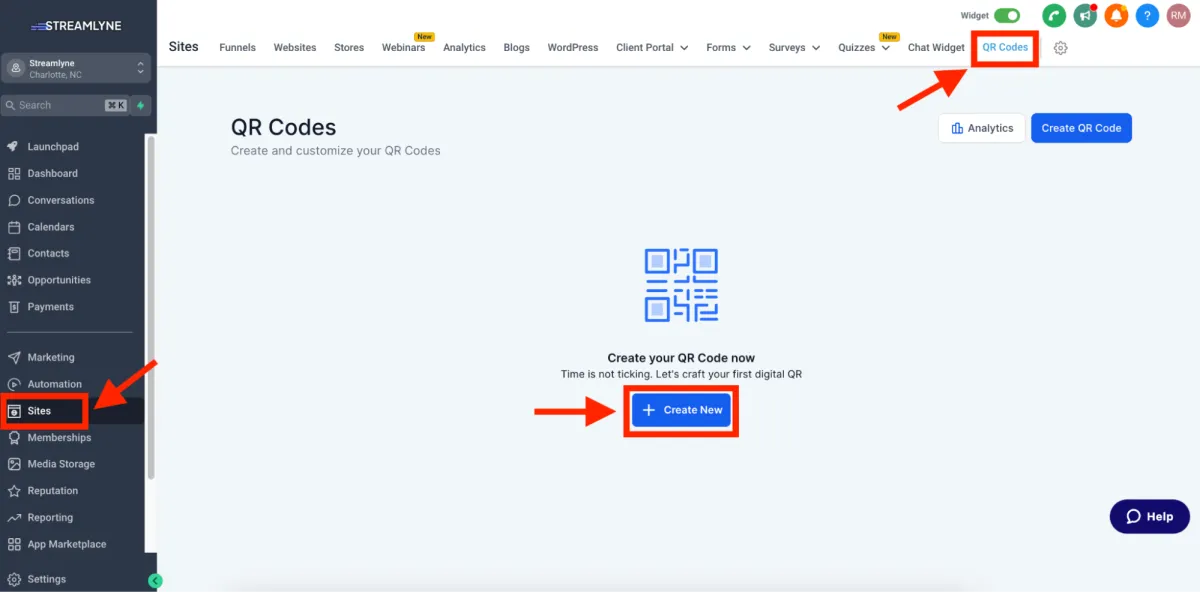
Once inside, you’ll be able to generate personalized QR codes specific to your needs.
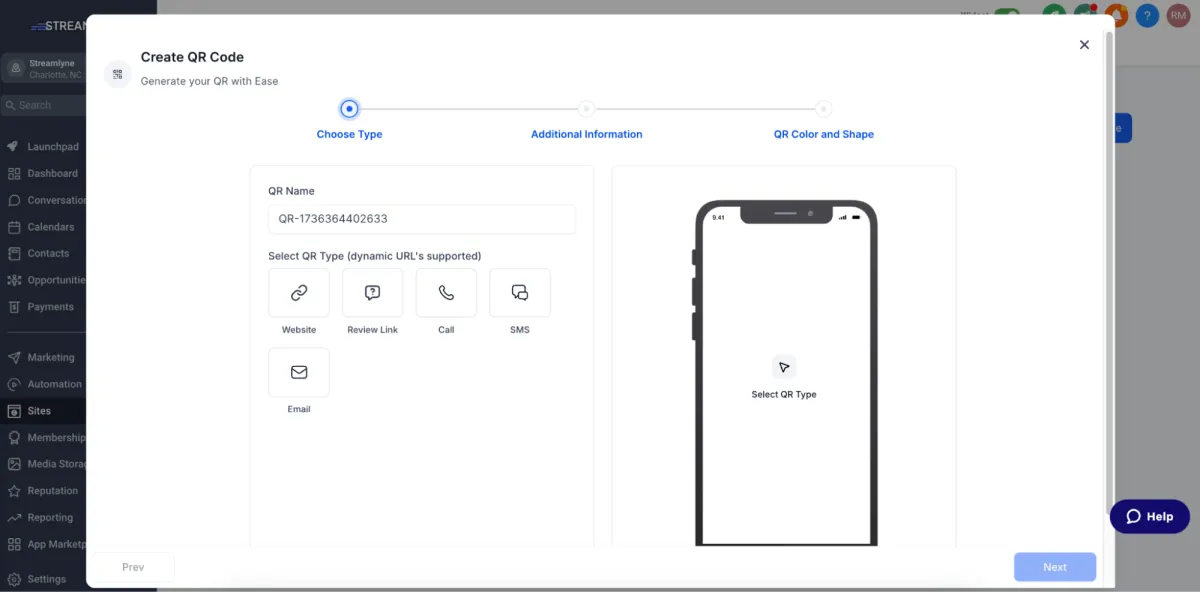
Step 2: Name and Select a QR Type
When creating your QR code, you’ll need to define a name for identification purposes and choose the correct type of QR code. You can choose from:
Website QR Codes
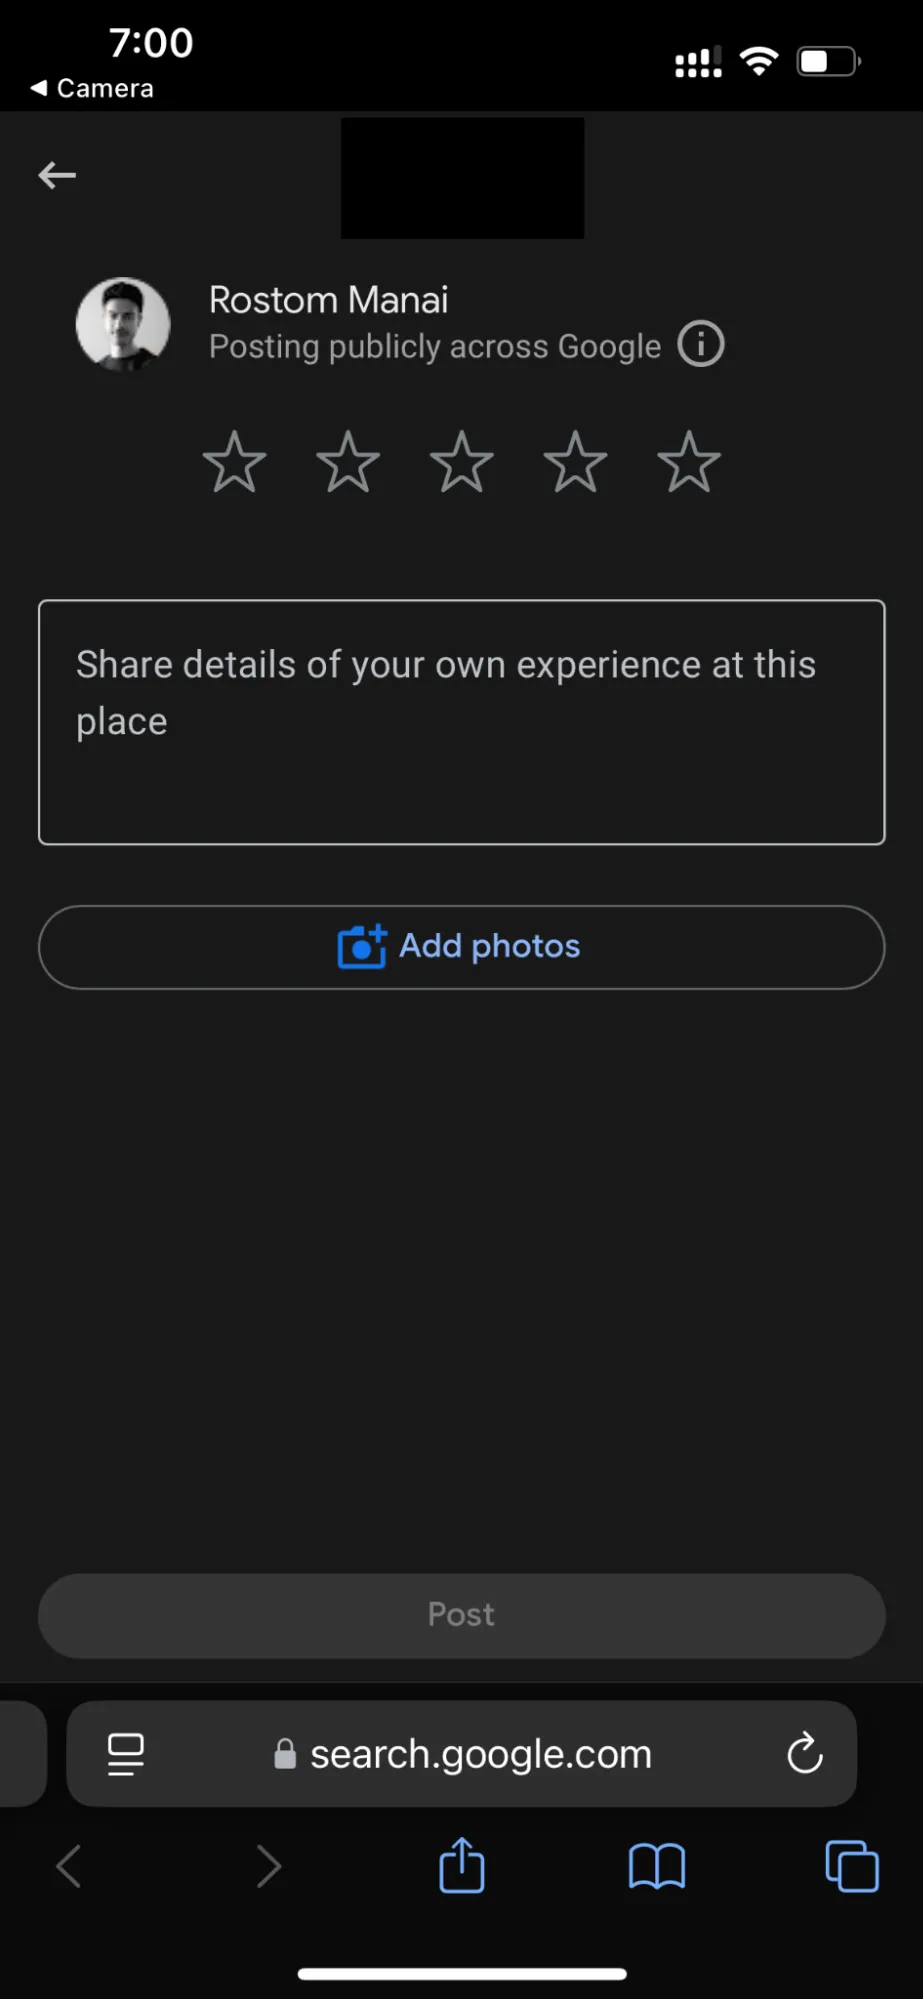
Review Link QR Codes
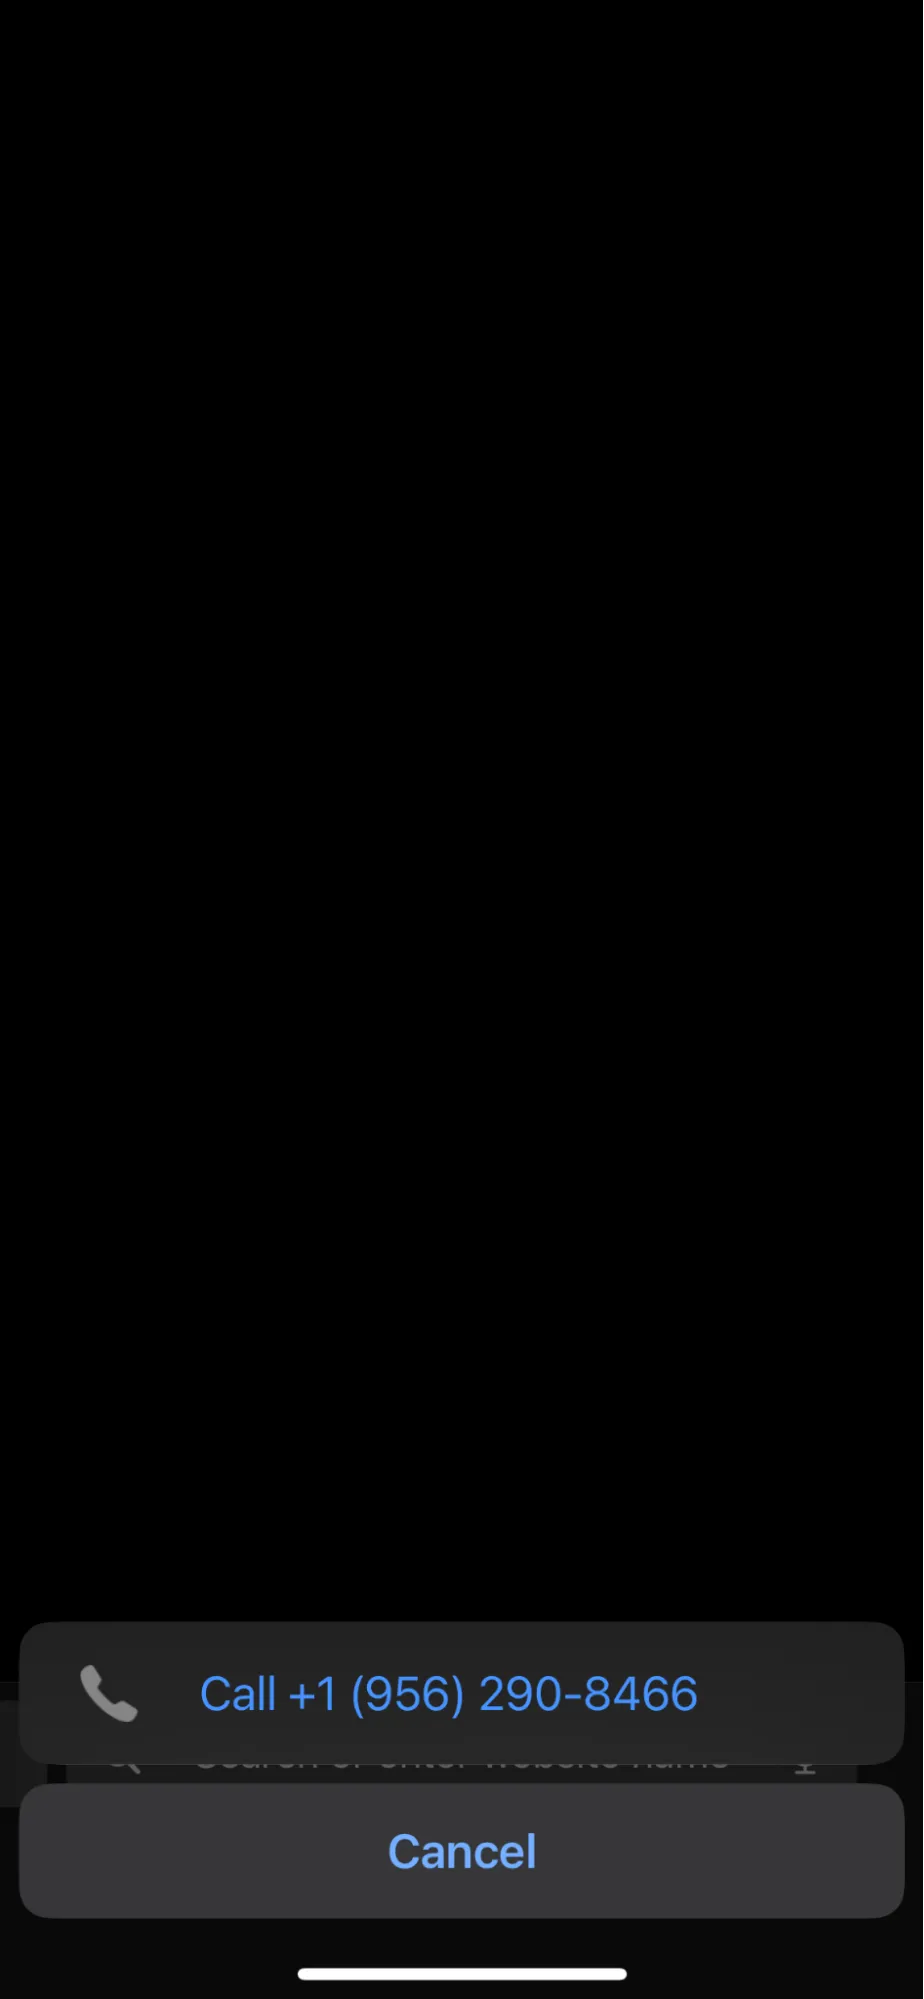
Call QR Codes (Prompts to Call a Specific Number)
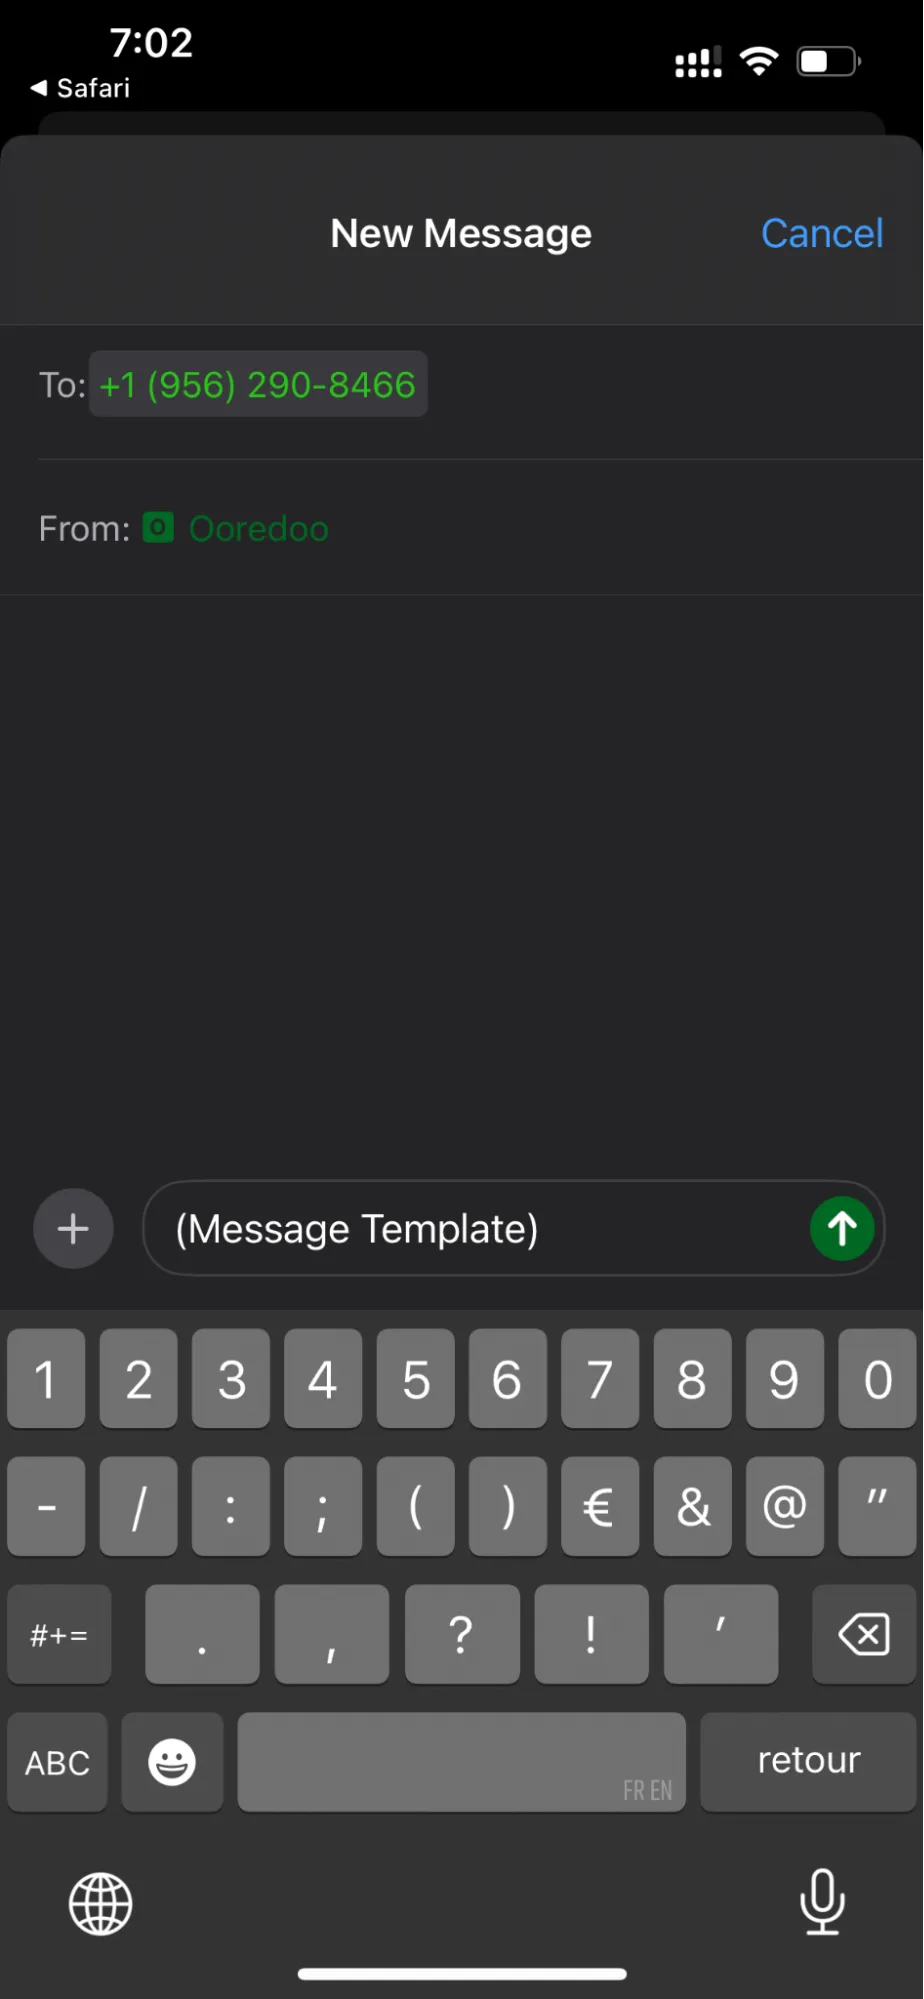
SMS QR Codes (Prompts to Text a Specific Number & Message)
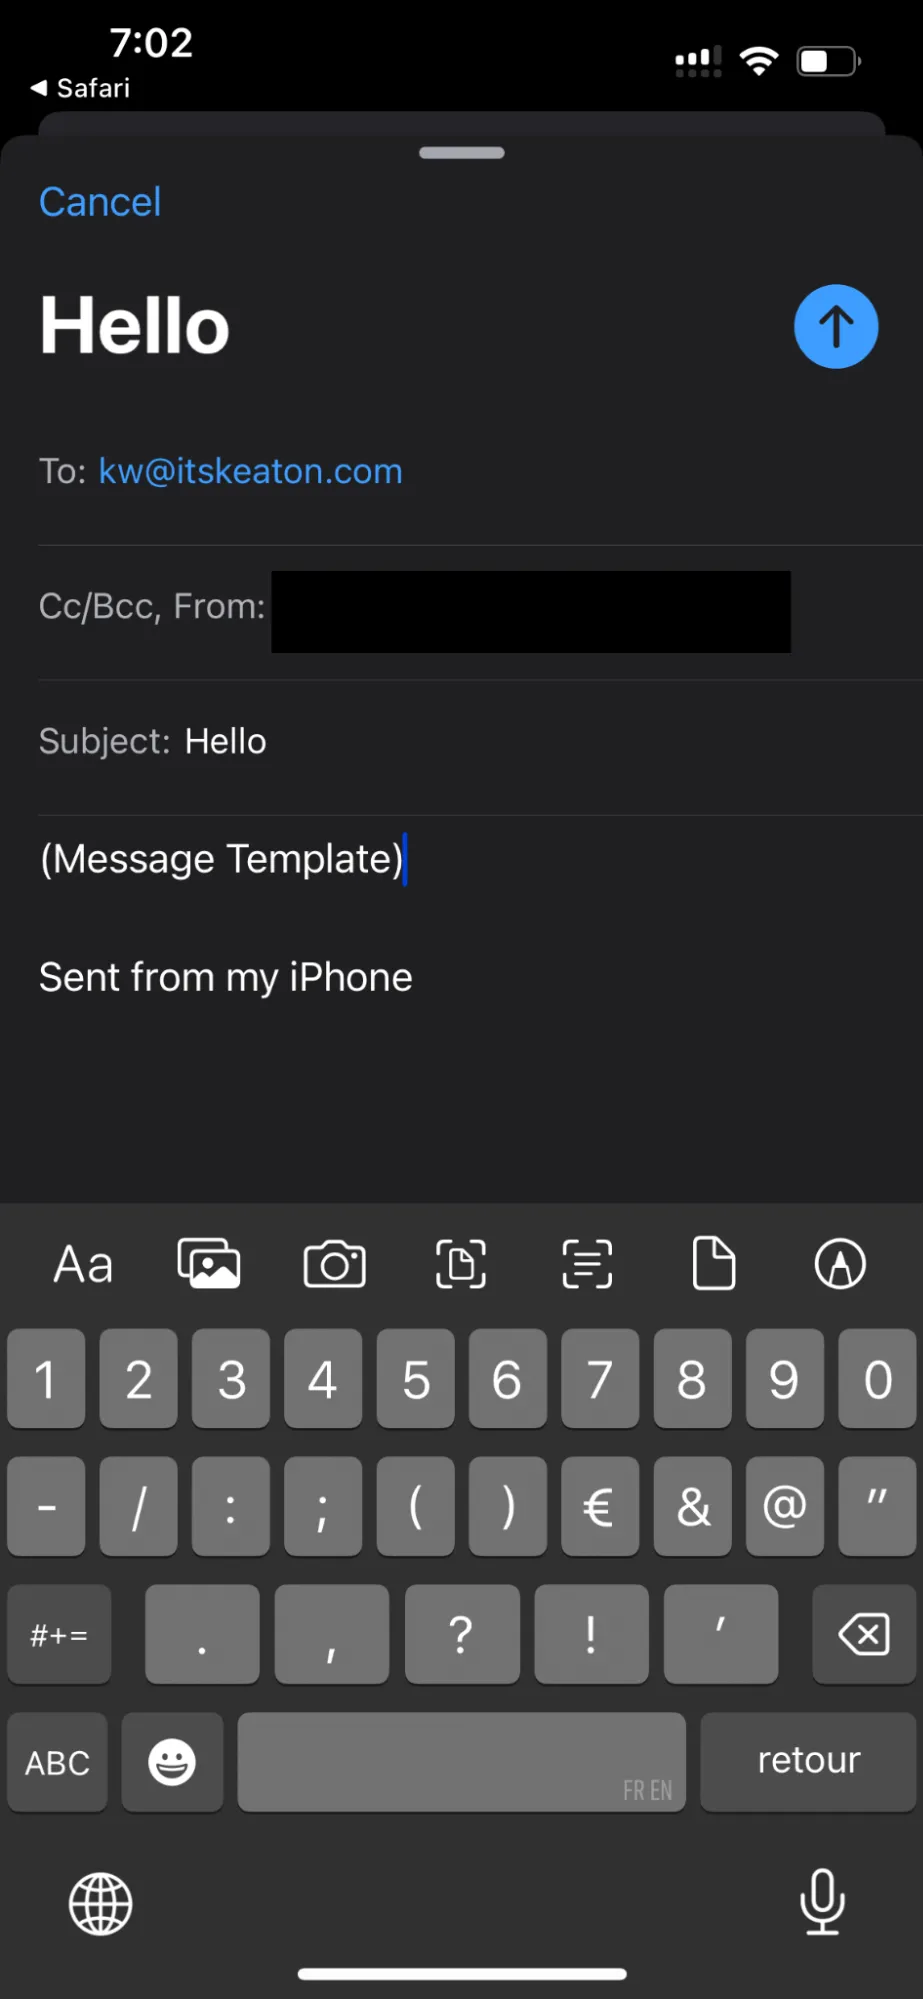
Email QR Codes (Prompts to Email a Specific Email Address, Subject Line, and Message)
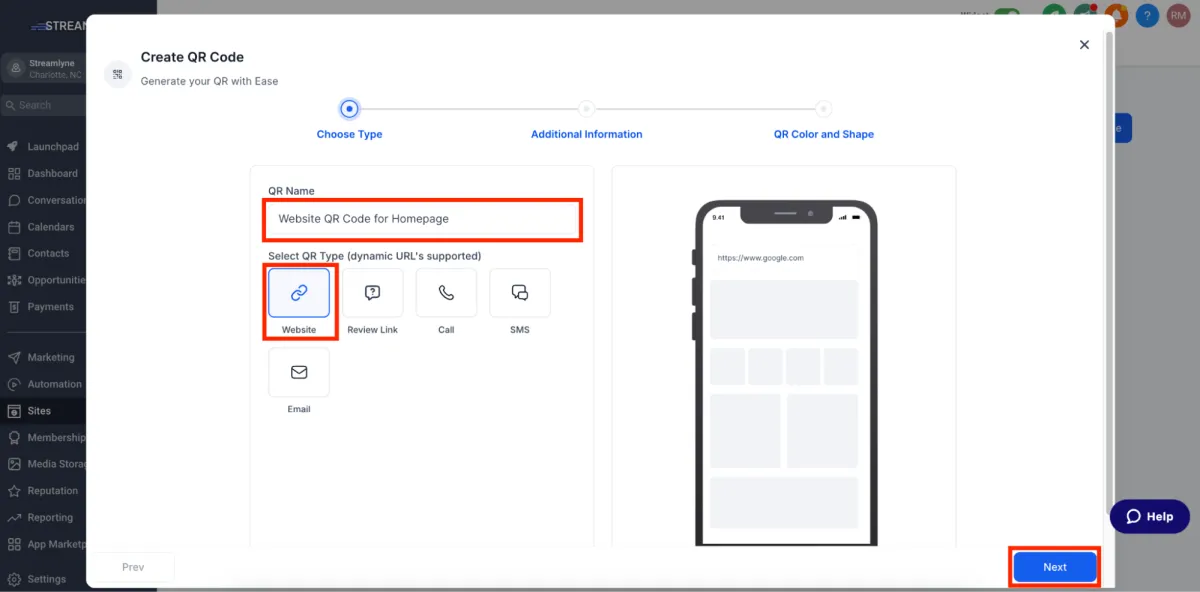
For this example, we’ll choose "Website."
Add a name for your QR code (e.g., "Website QR Code for Homepage").
Select the QR Type as "Website".
Click "Next" to proceed to the next stage.
Join thousands of businesses already using HighLevel QR codes to boost engagement.
Website QR code:
Review Link QR Code:
Call QR code:
SMS QR code:
Email QR code:
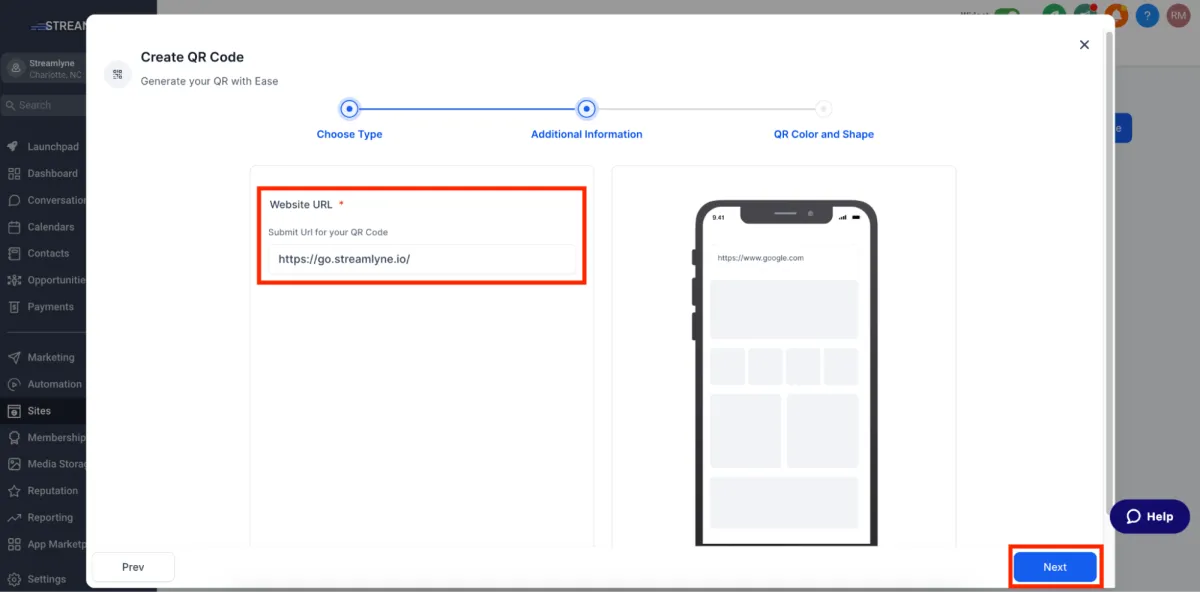
Step 3: Enter Your Website URL
You now need to provide the website link that your QR code will redirect users to.
1. In the designated field, input the URL of the website you wish to link.
2. The URL is dynamic, which means that you can update/replace it later if needed to redirect users to a different page.
Make sure your website URL is correct and live before using the QR code
Step 4: Customize Your QR Code
HighLevel’s QR code tool allows you to personalize your QR codes to align with your brand identity. You can customize the following:
Color: Adjust the QR code’s primary color to match your brand palette.
Shape & Form: Choose from different shapes and patterns for the QR code elements.
Center Logo: Add your business logo or a custom icon in the QR code’s center for easy recognition.
Background Image: Include an image as the background for the QR code for added flair.
Once you’re satisfied with the customization, test how the QR functions and save it.
Next, download the QR for use in marketing materials, signage, business cards, or other promotional resources.
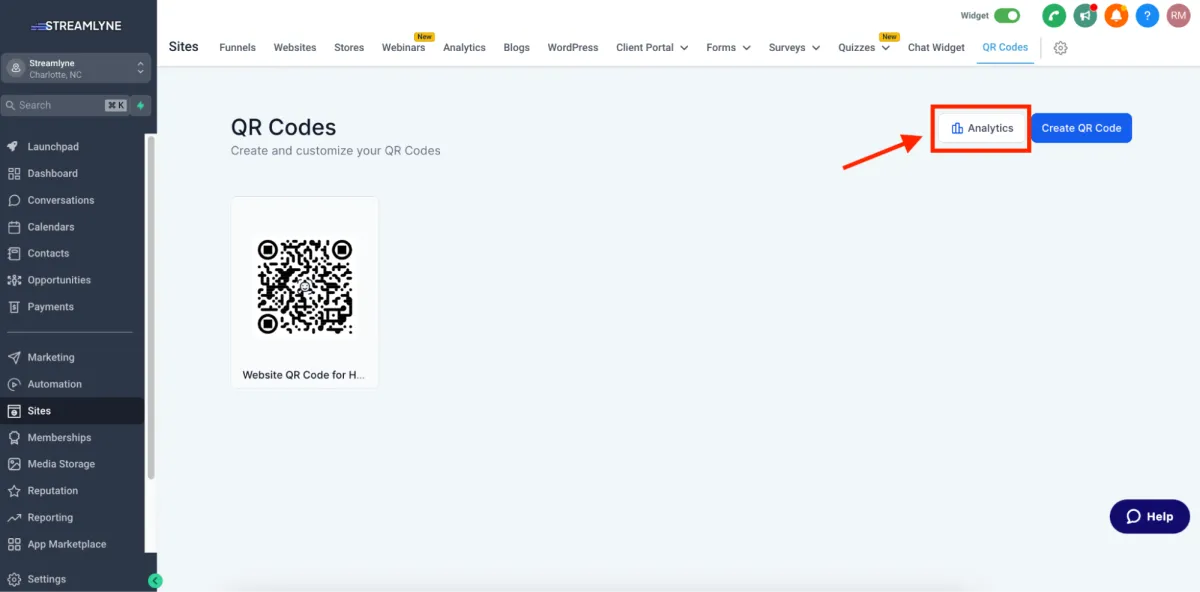
Step 5: Track QR Code Analytics
HighLevel not only helps you create QR codes but also provides analytics to measure their performance.
1. To view analytics, go to "QR Codes" > "Analytics."
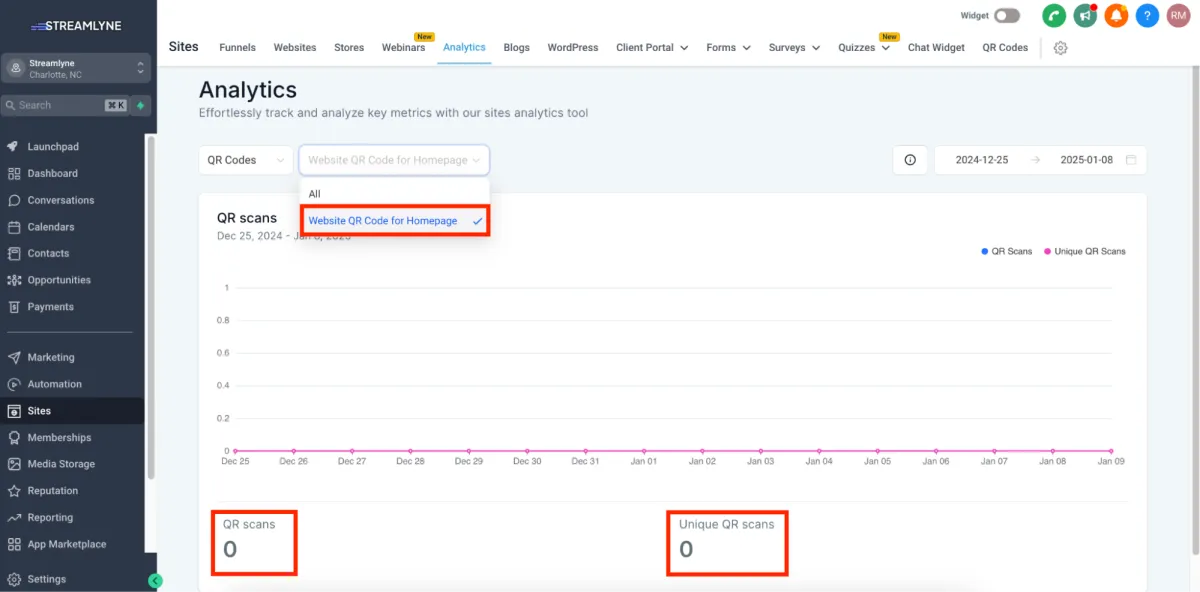
2. Here, you can find data such as:
Total Scans: The total number of times the QR code has been scanned.
Unique Scans: The number of individual users who interacted with the code.
Analytics can help you optimize your campaigns by providing insights into user engagement and behavior.
Step 6: Add The QR Code Scan Action To a Workflow
This is where the real power of GoHighLevel QR codes comes into play. Once someone scans and takes the action from your QR code, you can trigger a workflow and start sending marketing messages to your prospect/client.
Here’s how it works:
Example 1: Review QR code
Create a new workflow
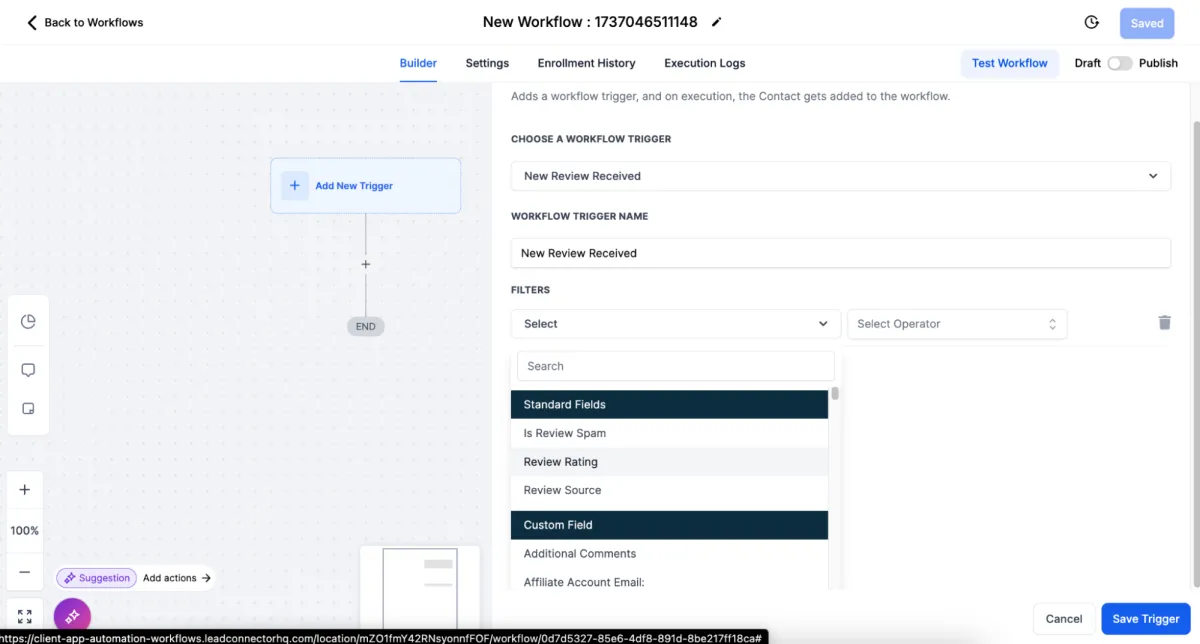
Set the trigger to “New Review Received”
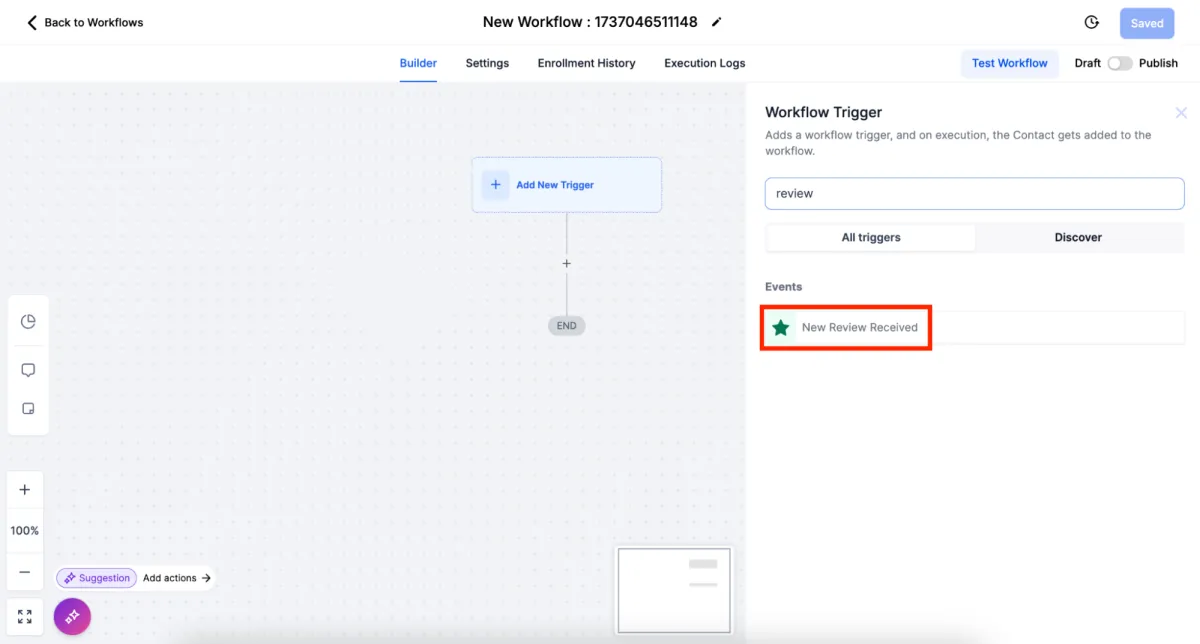
3. Add your filters
4. Add any action you want (send email, sms, add tag, etc)
Example 2: Collecting Emails & Phone numbers
(For this you’ll need to link the QR code to a page with a form)
Create a new workflow
Set the trigger to “Form Submitted”
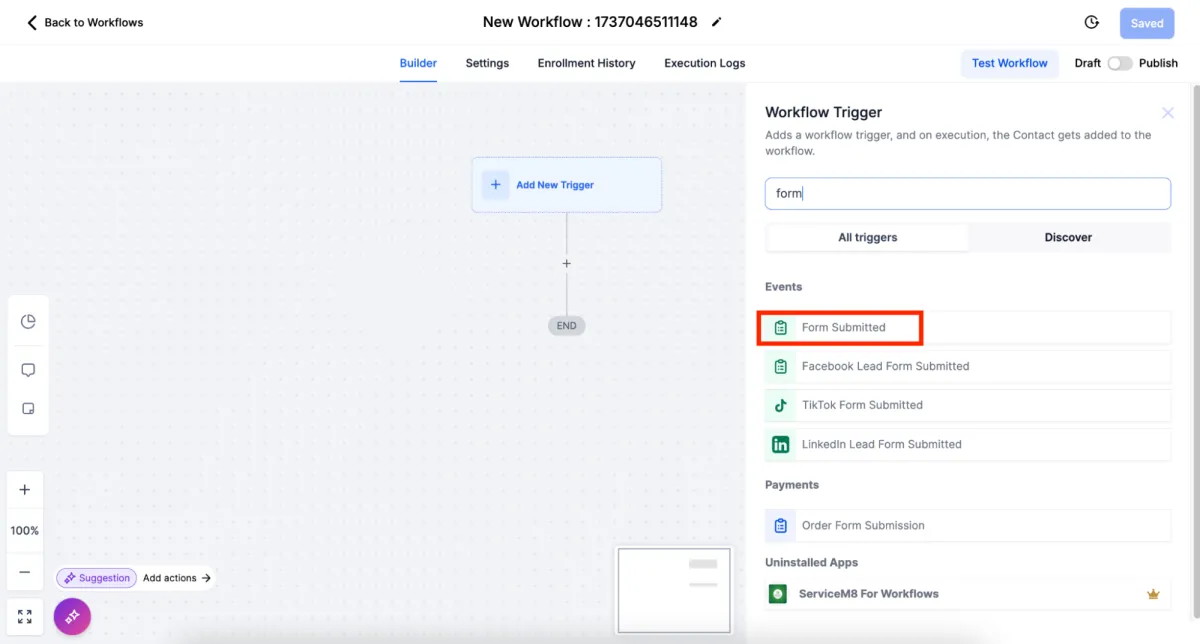
Choose your form

Add any action you want (send email, sms, add tag, etc)
Example 3: QR Code To Send Message
(For this you’ll need to link the QR code to a phone number to call or send a text message)
Create a new workflow
Set the trigger to “Customer Replied
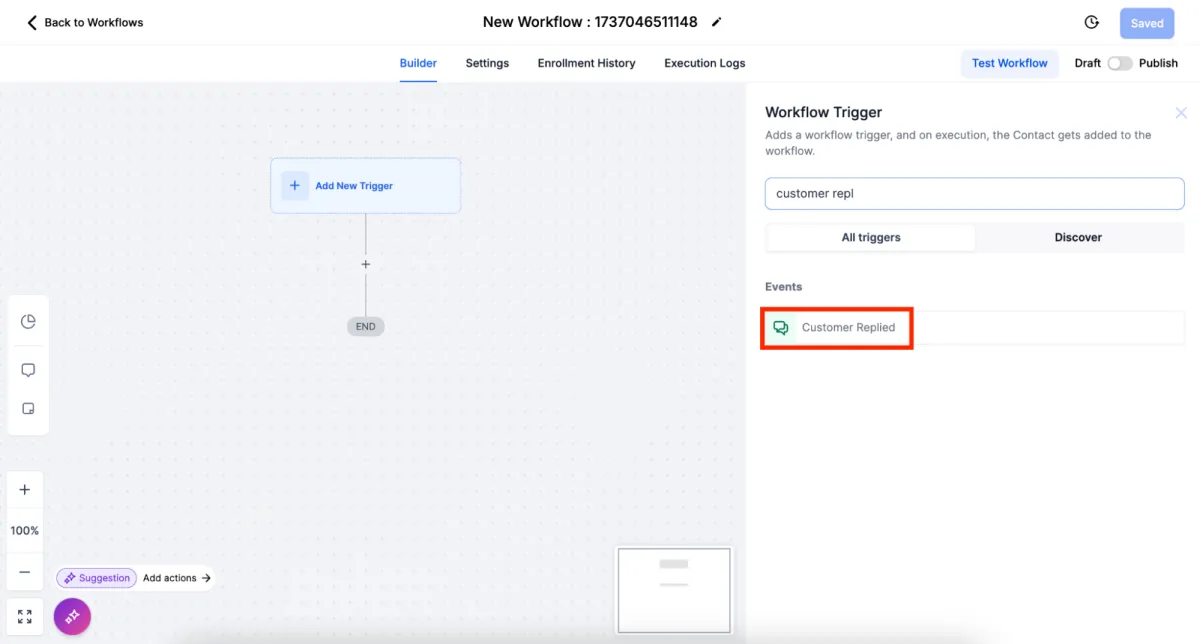
Choose the “Reply channel” and other filters like “Exact match phrase”

Then add any action you want (send email, sms, add tag, etc)
Conclusion
Creating and customizing a QR code with HighLevel is a straightforward process that can transform how customers interact with your business. With its robust customization features and performance tracking, this tool enables businesses to enhance their marketing, streamline access to digital assets, and make data-driven decisions.
Try out the QR code functionality today to see how it can take your customer engagement strategies to the next level!
Join The Daily Dominator
The No B.S. Guide to Attracting Your Ideal Clients on Autopilot - No Matter Your Follower Count
The No B.S. Guide to Attracting Your Ideal Clients on Autopilot - No Matter Your Follower Count
Daily insights trusted by 15,516+ Dominators.
"Just hit 10 Agency Clients, 0 came From Outreach" - Matthew F. - 100 Followers
"Going to finish this month around 40k in rev" - Matt L., 8k Followers
"$8k this month, all built from inbound" - Oliver S., 1.3k Followers